Managing iOS build configurations

Why?

Applications today are rarely being built without 3rd party libraries and SDKs. There are libraries for integrating remote backends into your app. Libraries for effective image caching and loading. Libraries for gathering analytics and libraries for pushing messages. Libraries that help your users report issues, help you debug and analyze crashes. (Yes, that last one is Bugsee)

It is also a common practice for developers to maintain more than flavor of the application during active development. A debug version of the application may require a new version of the backend server which also might be under development still, it might send analytics data to a different service or it may need to include a helper library that is not necessary in the release version.

This following tutorial describes several options for maintaining different build configurations.

We are using Bugsee SDK as an example in this tutorial. At the same time, we do want to point out, that Bugsee SDK is extremely lightweight and doesn’t impact your user’s experience. Bugsee also passes all Apple Appstore requirements. A lot of Bugsee’s customers have seen the benefits of shipping the library in their App Store builds, it provides them with video-enabled crash reporting and in-app bug reporting.

Debug vs. Release

This one is the default most common setup you get when you create your application with xCode. With preprocessor macros it is easy to differentiate at compile time between a Debug and a Release build. Thus, it is easy to launch (or not launch) a library in any particular configuration. Lets launch Bugsee only in Debug build.

1
2
3
4
5
6
7
8
9
10
11
12
#if DEBUG
#import "Bugsee/Bugsee.h"
#endif
....
- (BOOL)application:(UIApplication *)application
didFinishLaunchingWithOptions:(NSDictionary *)launchOptions {
// ...other initialization code
#if DEBUG
[Bugsee launchWithToken:@"your app token"];
#endif

So now you don’t import and don’t run it, but the framework is still getting packaged into your application. If you use CocoaPods for you library management, there is a solution, starting with v0.34, CocoaPods honors build configurations. All you have to do is put the following in your Podfile:

1
pod 'Bugsee', :configurations => ['Debug']

Unfortunately, if you manually copy libraries into your project, you are out of luck.

Debug vs. Release (+TestFlight)

In this configuration you still manage and maintain two build flavors (Debug and Release). The Release build is first distributed to QA and Beta testers through Apple TestFlight and only when ready you promote it to App Store. The beauty of this approach is that it is the same build(same binary!). Thus, you can be sure there are no differences between what was tested and what was released. This means, however, that Bugsee SDK must be part of that Release build and you just want to disable it when it is being installed from App Store.

Fortunately, it is easy to differentiate between App Store and Testflight installations in run-time and initialize Bugsee only when appropriate:

1
2
3
4
5
6
7
8
9
10
11
- (BOOL)application:(UIApplication *)application
didFinishLaunchingWithOptions:(NSDictionary *)launchOptions {
// ...other initialization code
if ([[[[NSBundle mainBundle] appStoreReceiptURL] lastPathComponent] isEqualToString:@"sandboxReceipt"]) {
// We are in TestFlight, enable Bugsee!
[Bugsee launchWithToken:@"your app token"];
}
return YES;
}

Debug vs. Release vs. Beta

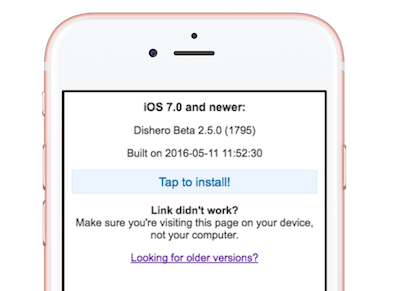
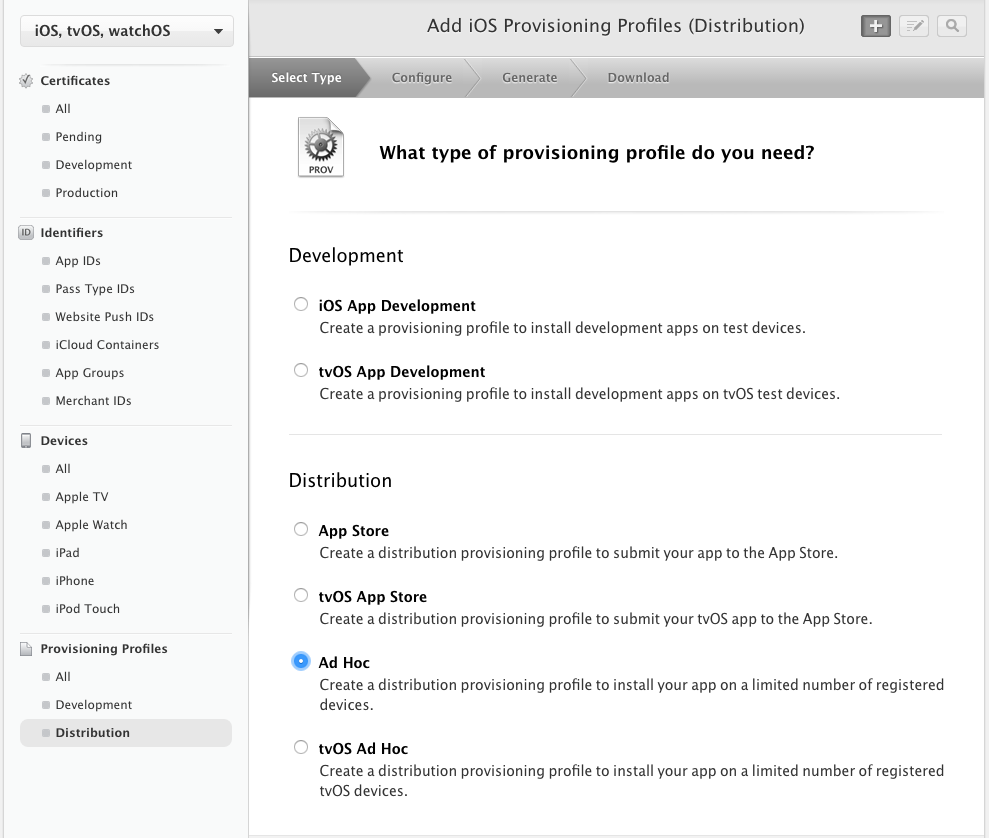
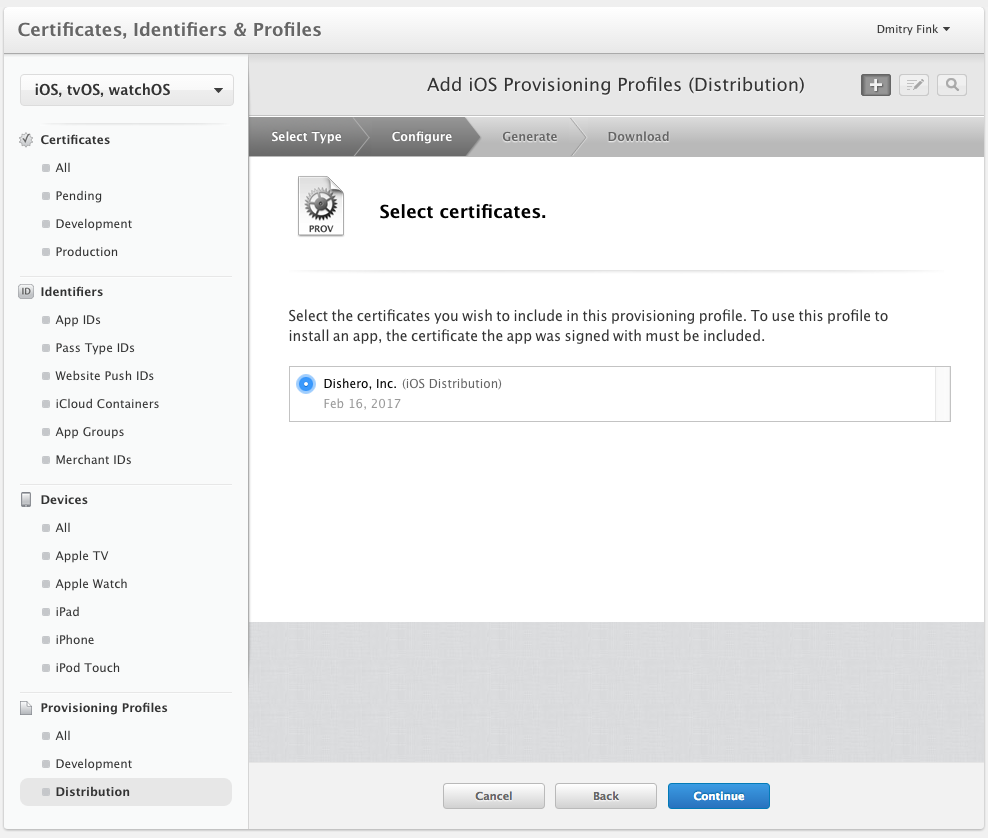
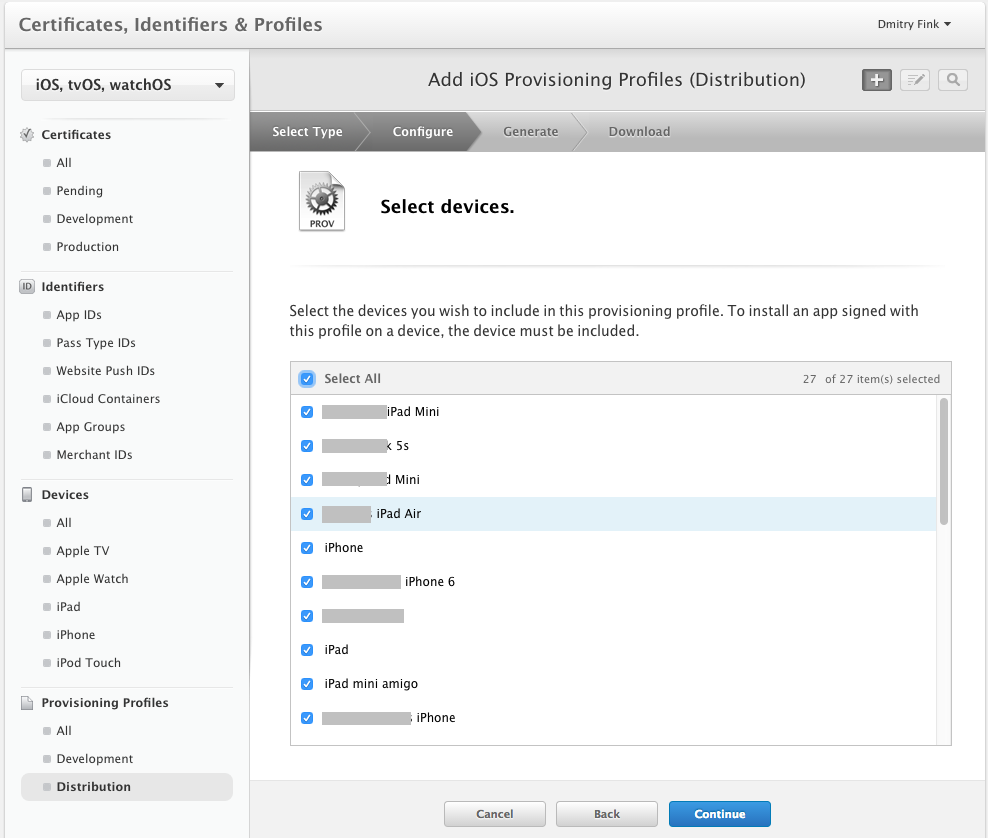
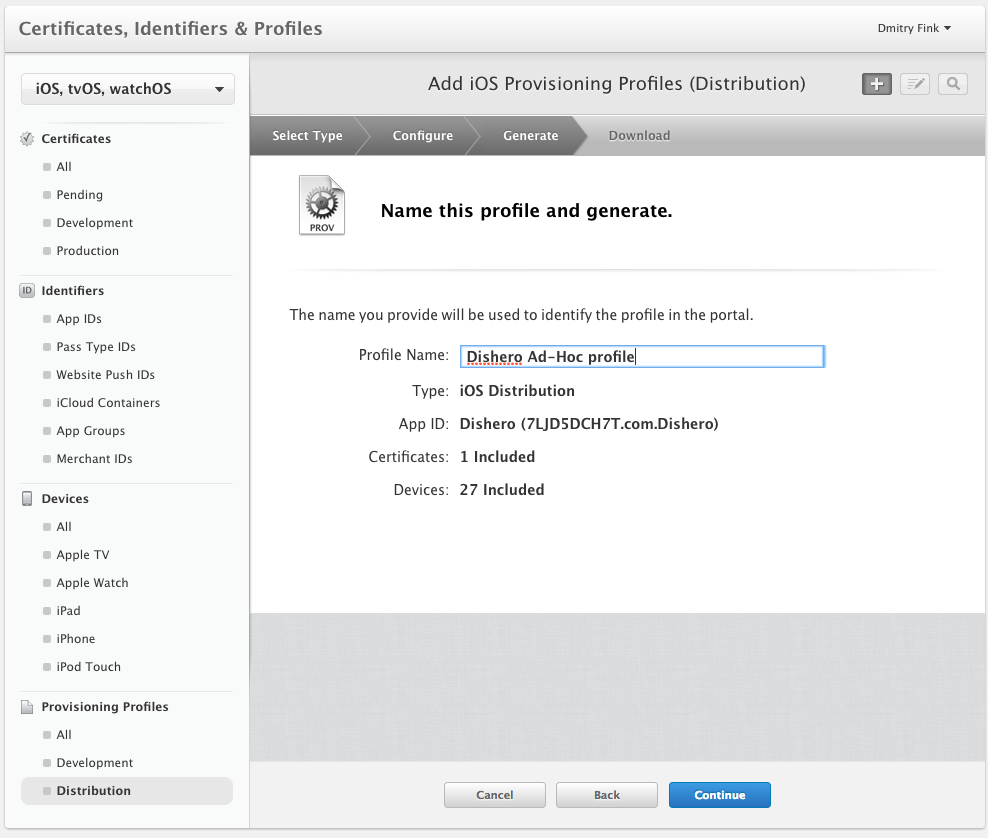
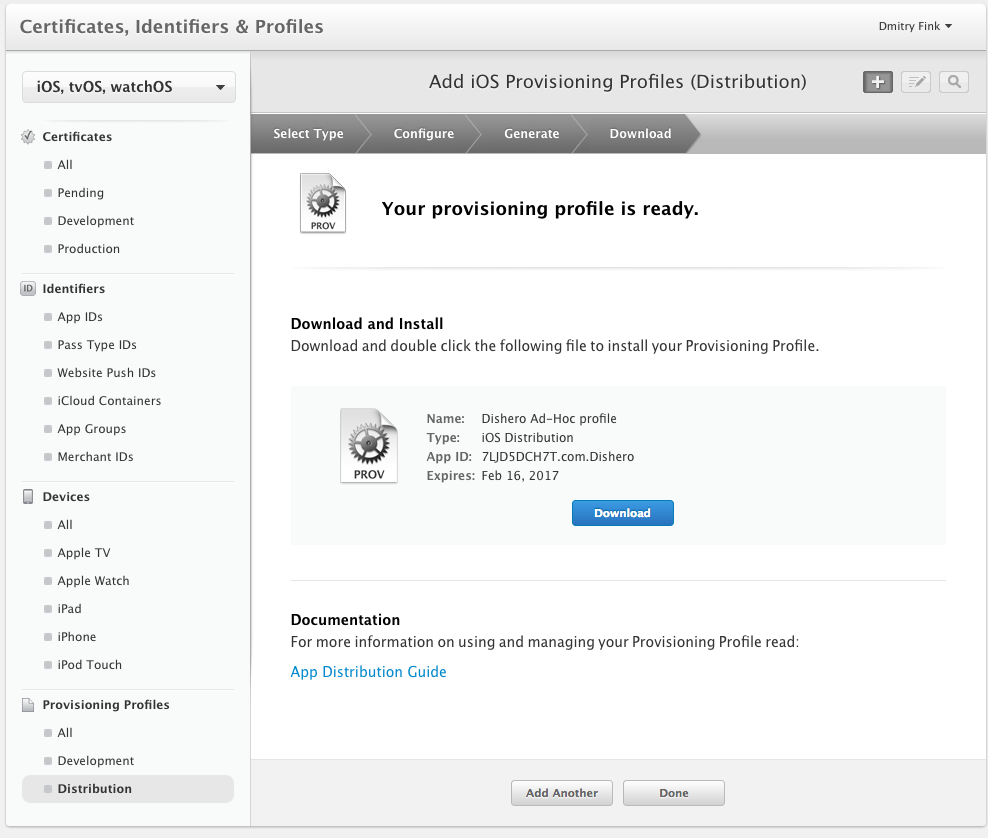
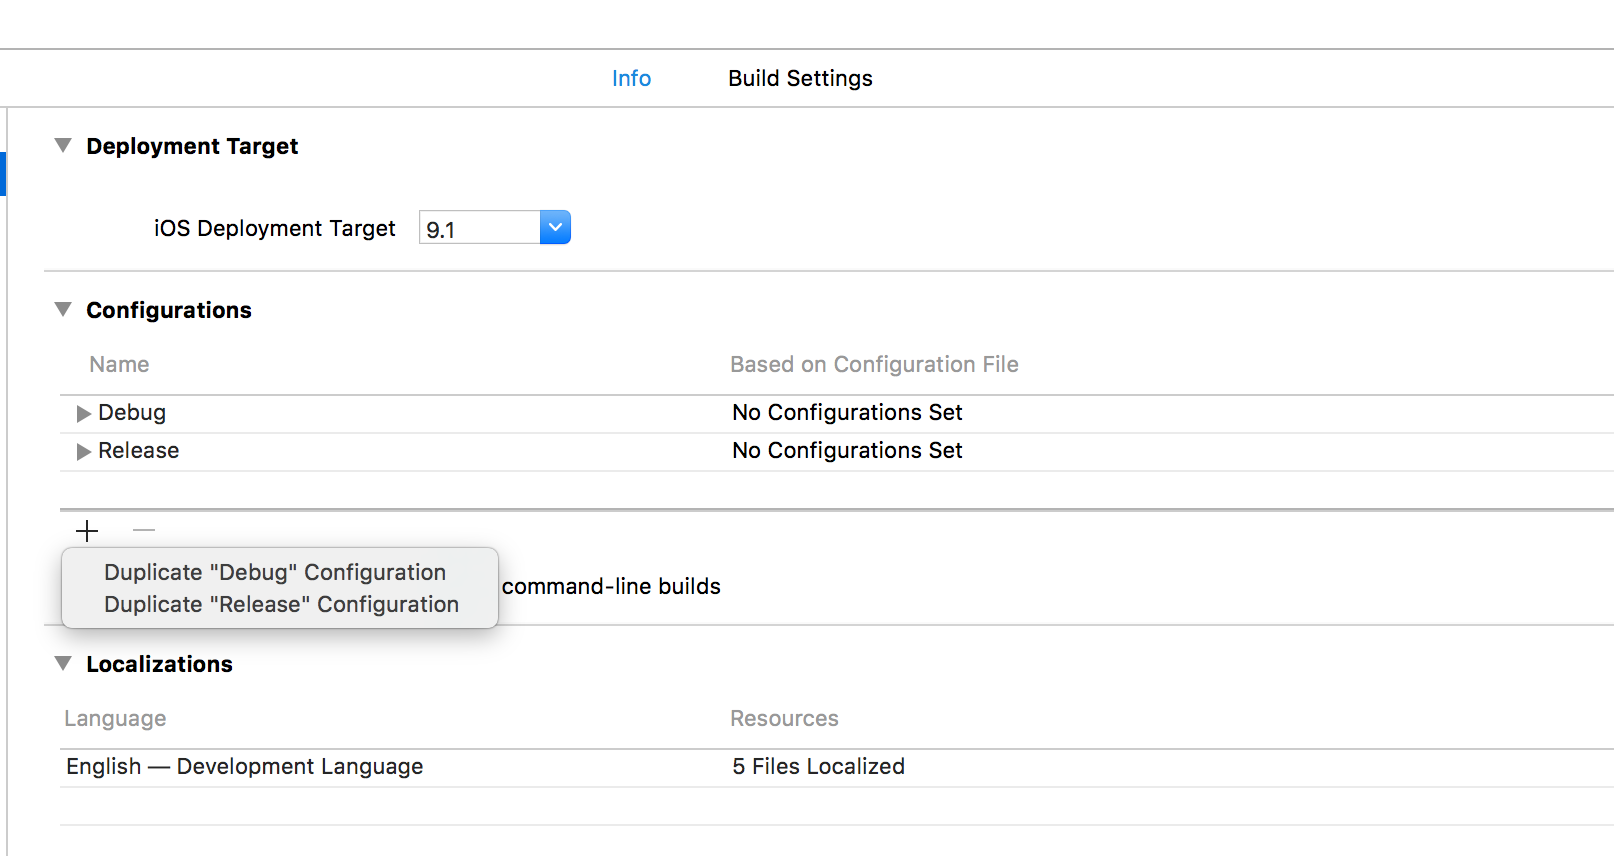
In this setup you create and maintain three build flavors. Distribution method of the Beta flavor is not important, it can be done either through Ad-hoc distribution (see our tutorial on building in house Ad-hoc distribution using S3) or through TestFlight. In this setup you are back to detecting the configuration at compile. Adding an additional configuration, however, is a multi step process:

Go to your project Info, and under Configurations, create a new one by duplicating the Release one.

Go to Build Settings and in Preprocessor Macros and add BETA=1 to that new Beta configuration (note that this is actually the place DEBUG=1 is being set for that Debug build).

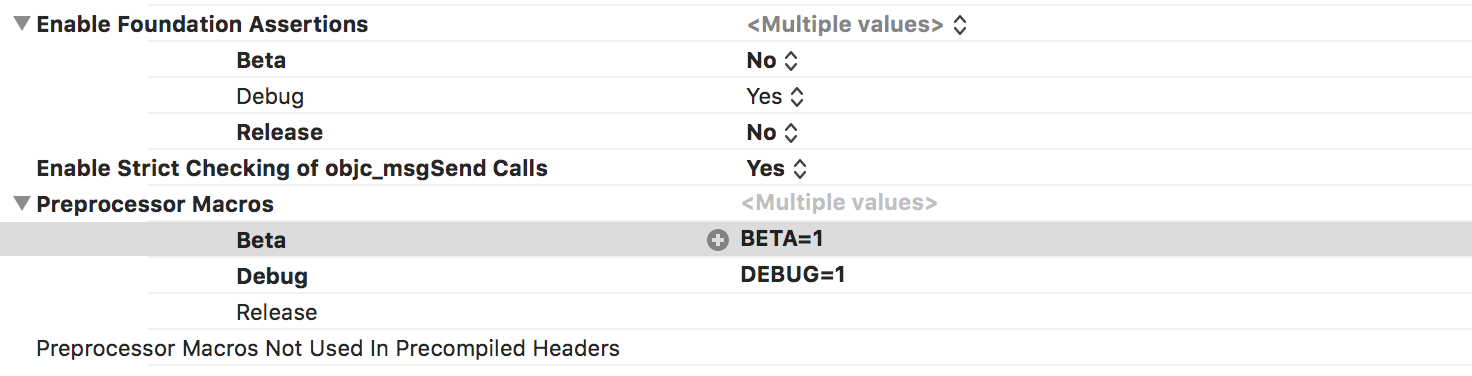
Voila! You can now detect Release versus Beta build at compilation time. Other than the BETA flag, the builds are identical.

Let’s launch Bugsee in Debug and Beta only:

1
2
3
4
5
6
7
8
9
10
11
12
#if ( DEBUG || BETA)
#import "Bugsee/Bugsee.h"
#endif
....
- (BOOL)application:(UIApplication *)application
didFinishLaunchingWithOptions:(NSDictionary *)launchOptions {
// ...other initialization code
#if (DEBUG || BETA)
[Bugsee launchWithToken:@"your app token"];
#endif

Let’s use that CocoaPods trick to install the library only in Debug and Beta builds:

1
pod 'Bugsee', :configurations => ['Debug', 'Beta']

The only thing left to do is to build the Beta configuration.

First of all, go to Product->Schemes->Edit Scheme and click on Duplicate Scheme button. Name it properly (if your original scheme was called MyApp, call the new one MyApp Beta).

Edit the new scheme, and change the configuration of the Archive step to use Beta configuration.

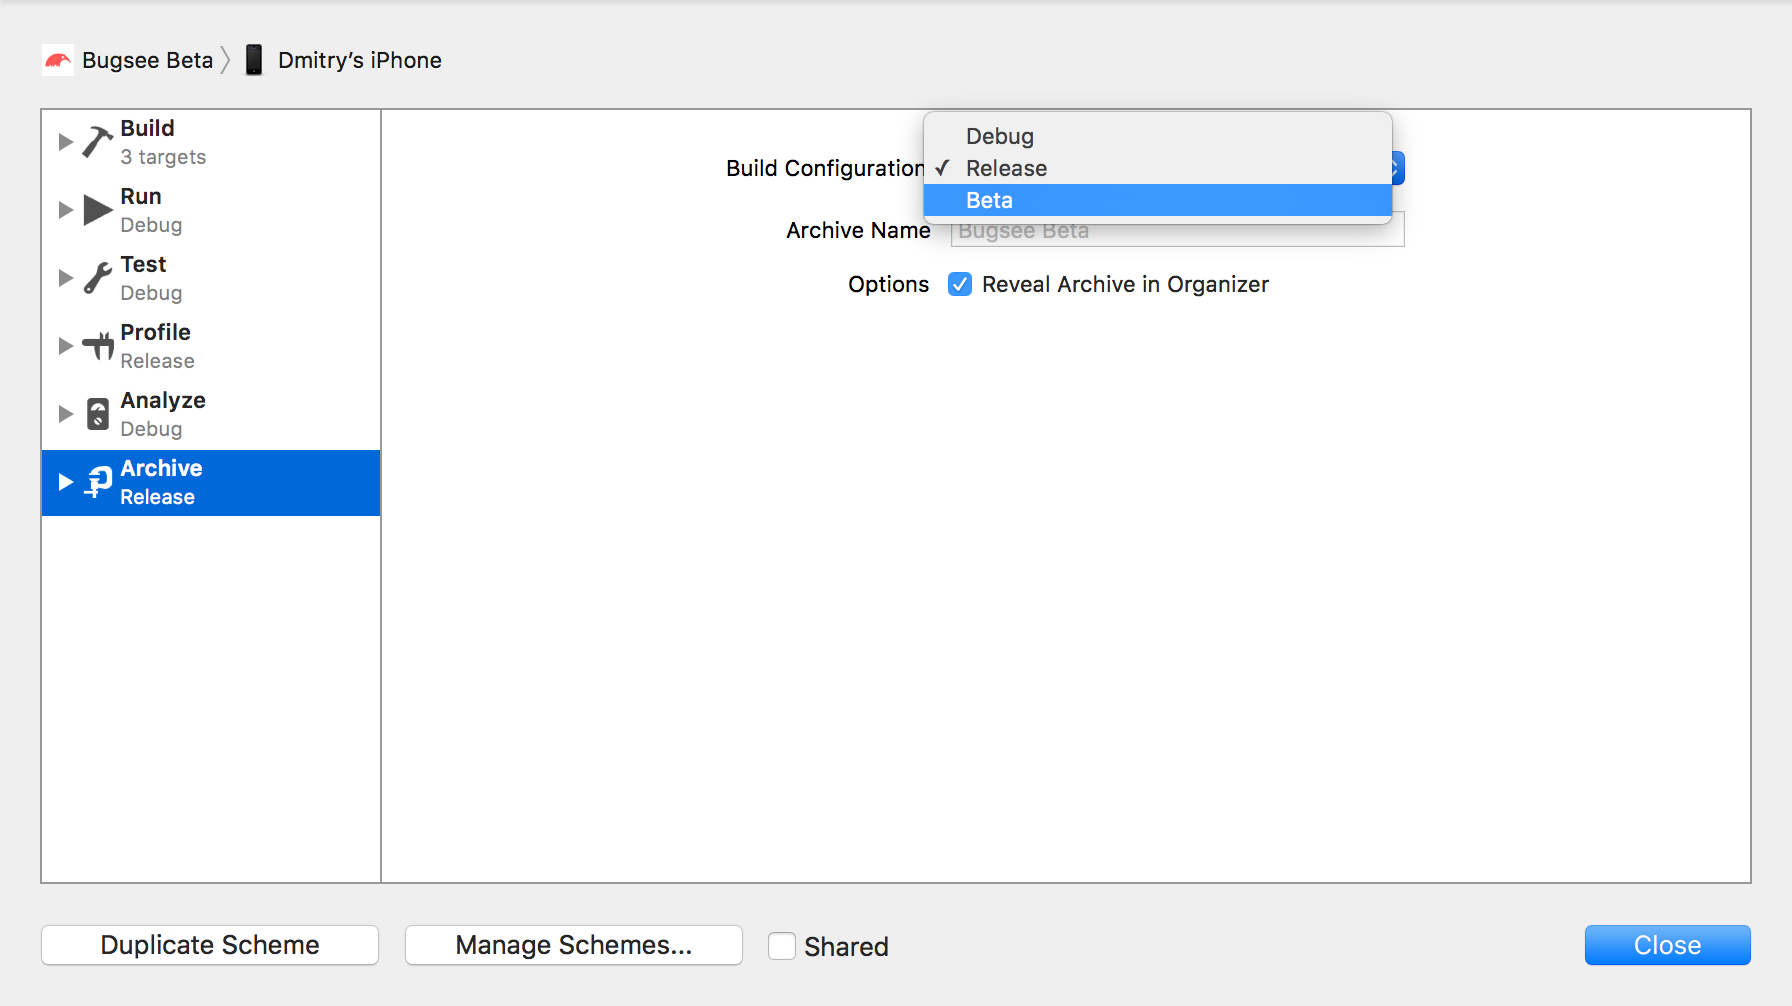
That’s it. Now you have two schemes, one for Appstore and one for Beta releases. As long as you are developing and using Build & Run, they are identical, and it doesn’t matter which one you are using. It matters though when you do Archive, depending whether you want to produce and IPA for App Store or Ad-Hoc, remember to switch to the right one.

iOS Ad-hoc distribution using Amazon S3

Why?

Every iOS developer at some point in their life is challenged with a task to distribute their awesome app to a group of loyal beta testers. Apple does not make it easy. The reasons for this are clear. We all care about security and greatly appreciate the fact that iOS platform is much more secure than its main competitor, but it is still a problem that needs to be solved. There are services out there that try to automate the ad-hoc distribution process, but sometimes it is not desirable or even possible to use them. Thus, there is a need to bake an in-house distribution system.

To make the ad-hoc distribution work, one must:

  • Upload the IPA file to a place where it can be downloaded
  • Generate a special plist xml file, referring to the IPA above. This file must be accessible over https!
  • Generate an html file with a special Download link, pointing to the plist file above. This is the page users will see

Throughout this tutorial, we are going to use an application called Dishero as an example. We will host it directly on S3, without spinning up machines or configuring http servers. The result will look similar to this:

We will produce a nice webpage, hosted on S3 that will provide details and a one-click install for our application.

Prerequisites

Create an Ad-hoc distribution profile

First of all you will need to create a distribution profiles in iTunes Connect.

Ad-Hoc distribution limits the the ability to install your application only on specific devices that have to be pre-registered. Instruct your beta users to visit http://whatsmyudid.com/ and to follow the instructions there to obtain UDID (Unique Device ID) for their device and send it to you.

Follow the pictures below to create an Ad-Hoc provisioning profile, and add all the devices to it. Download it once ready and install in your local keychain by double-clicking on it.


Create a bucket on S3 and enable web hosting on it

You will also need a dedicated bucket on S3 for this. Make sure you enable Web Hosting on your bucket as shown in the picture below.
Bonus: If you want to have your download page to be at a nice URL (we are using download.dishero.com for this example), you have to do a few tricks:

  1. Name your bucket accordingly - download.dishero.com
  2. In your DNS, configure a CNAME record download.dishero.com to point to download.dishero.com.s3.amazonaws.com.

Install S3cmd

We will need s3cmd to upload the files to S3 and set the right permissions.

Installing it using homebrew is easy:

1
brew install s3cmd

So is installing it using python’s pip:

1
sudo pip install s3cmd

…or you can just follow the manual process described on s3cmd website.

Once you have it installed, run it

1
s3cmd --configure

and enter your AWS credentials when prompted. Credentials will be saved and we won’t need to state them explicitly anymore.

Where the magic happens

The script below does all the heavy lifting. It generates index.html, proper plist file and uploads them along with the IPA itself to S3.

1
2
3
4
5
6
7
8
9
10
11
12
13
14
15
16
17
18
19
20
21
22
23
24
25
26
27
28
29
30
31
32
33
34
35
36
37
38
39
40
41
42
43
44
45
46
47
48
49
50
51
52
53
54
55
56
57
58
59
60
61
62
63
64
65
66
67
68
69
70
71
72
73
74
75
76
77
78
79
80
81
82
83
84
85
86
87
88
#!/bin/bash
set -e
PROJECT="Dishero"
FILE=$1
TARGET=$2
VERSION=$3
BUILD=$4
BUILD_TIME=`stat -f "%Sm" -t "%Y-%m-%d %H:%M:%S" $1`
SECURE_TARGET="https://s3-us-west-2.amazonaws.com/${TARGET}"
echo "Generating ${PROJECT}-${VERSION}-${BUILD}.plist"
cat > ./${PROJECT}-${VERSION}-${BUILD}.plist <<PLIST_DELIM
<?xml version="1.0" encoding="UTF-8"?>
<!DOCTYPE plist PUBLIC "-//Apple//DTD PLIST 1.0//EN" "http://www.apple.com/DTDs/PropertyList-1.0.dtd">
<plist version="1.0">
<dict>
<key>items</key>
<array>
<dict>
<key>assets</key>
<array>
<dict>
<key>kind</key>
<string>software-package</string>
<key>url</key>
<string>http://${TARGET}/${PROJECT}-${VERSION}-${BUILD}.ipa</string>
</dict>
</array>
<key>metadata</key>
<dict>
<key>bundle-identifier</key>
<string>${BUNDLE}</string>
<key>bundle-version</key>
<string>${VERSION}</string>
<key>kind</key>
<string>software</string>
<key>subtitle</key>
<string>${PROJECT}</string>
<key>title</key>
<string>${PROJECT}</string>
</dict>
</dict>
</array>
</dict>
</plist>
PLIST_DELIM
echo "Generating index.html"
cat > ./index.html <<INDEX_DELIM
<!DOCTYPE html PUBLIC "-//W3C//DTD XHTML 1.0 Transitional//EN" "http://www.w3.org/TR/xhtml1/DTD/xhtml1-transitional.dtd">
<html xmlns="http://www.w3.org/1999/xhtml">
<head>
<meta http-equiv="Content-Type" content="text/html; charset=UTF-8" />
<meta name="viewport" content="width=device-width, initial-scale=1.0, maximum-scale=1.0, user-scalable=0">
<title>${PROJECT} ${VERSION} (${BUILD})</title>
<style type="text/css">
body {background:#fff;margin:0;padding:0;font-family:arial,helvetica,sans-serif;text-align:center;padding:10px;color:#333;font-size:16px;}
#container {width:300px;margin:0 auto;}
h1 {margin:0;padding:0;font-size:14px;}
p {font-size:13px;}
.link {background:#ecf5ff;border-top:1px solid #fff;border:1px solid #dfebf8;margin-top:.5em;padding:.3em;}
.link a {text-decoration:none;font-size:15px;display:block;color:#069;}
.warning {font-size: 12px; color:#F00; font-weight:bold; margin:10px 0px;}
</style>
</head>
<body>
<div id="container">
<h1>iOS 7.0 and newer:</h1>
<p>${PROJECT} Beta ${VERSION} (${BUILD})</p>
<p>Built on ${BUILD_TIME}</p>
<div class="link"><a href="itms-services://?action=download-manifest;url=${SECURE_TARGET}/${PROJECT}-${VERSION}-${BUILD}.plist">Tap to install!</a></div>
<p><strong>Link didn't work?</strong><br />Make sure you're visiting this page on your device, not your computer.</p>
</body>
</html>
INDEX_DELIM
echo "Uploading ${PROJECT}-${VERSION}-${BUILD}.ipa to s3://${TARGET}"
s3cmd put -P $FILE s3://${TARGET}/${PROJECT}-${VERSION}-${BUILD}.ipa
echo "Uploading ${PROJECT}-${VERSION}-${BUILD}.plist to s3://${TARGET}"
s3cmd put -P ${PROJECT}-${VERSION}-${BUILD}.plist s3://${TARGET}/${PROJECT}-${VERSION}-${BUILD}.plist
echo "Uploading index.html to s3://${TARGET}"
s3cmd put -P index.html s3://${TARGET}/

Executing the script requires only a few parameters: an IPA file, a bucket path, a version and a build

1
2
# $PATH_TO_SCRIPT/upload_to_s3.sh <IPA_FILE> <TARGET_PATH> <VERSION> <BUILD>
$PATH_TO_SCRIPT/upload_to_s3.sh Dishero.ipa download.dishero.com/beta 2.5.0 1795

The command above will make the download page available at http://download.dishero.com/beta. Alternatively, if DNS is not under your control and you can’t do CNAME tricks to get a proper hostname, you will have to point your users to https://s3-us-west-2.amazonaws.com/bucketname/path/